On this page you will learn how to set up our Jira-Munixo interface. The prerequisite is the installation of the app "Munixo Sync for Jira" from the Atlassian Marketplace that must be included in your Jira Cloud.
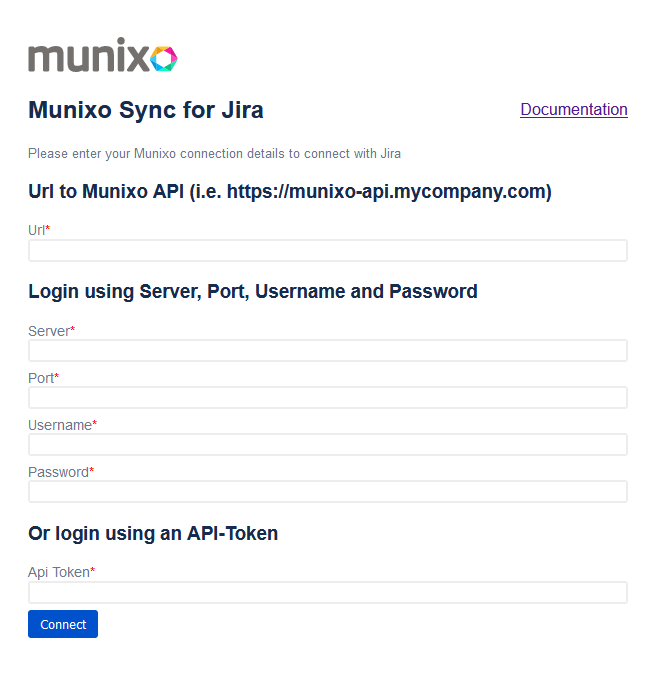
Once the app is installed, the setup has to be done with the "Configure" button. A page with the "Munixo" logo and the headline "Munixo Sync for Jira" will appear. In the fields, the URL of your hosted Munixo REST API and the login data must be entered. The user provided for the app must have appropriate read and write permissions for the required Munixo objects. After pressing the "Connect" button a webhook will be created in the Jira Cloud in the background that enables the connection to Munixo. This completes the setup in Jira.

In the Munixo system the mapping between Jira and Munixo data can be defined, enabling seamless synchronization.
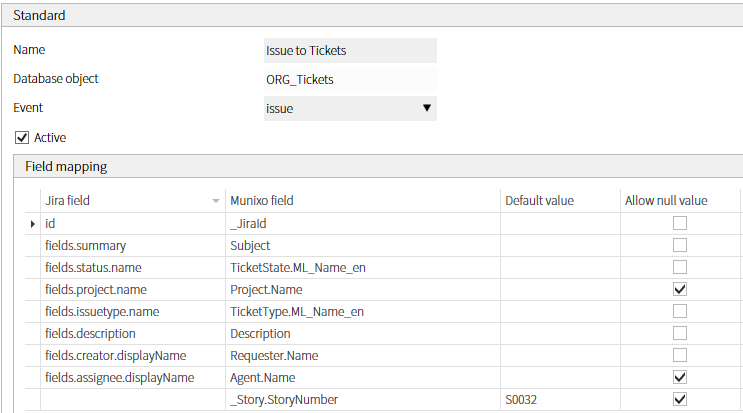
To define the interface, an entry in the "Jira Object Allocations" ("PI_Jira_IssueAllocations") is needed. Here, a name and the corresponding Munixo object must be specified. Only when the flag "Active" is set, data will be transferred to Munixo.

A Jira object allocation contains the Jira Field Assignments sub-table ("PI_Jira_IssueFieldAllocations"). Each entry in this table defines the setting of a field in the defined object. In the "Jira field" the field from Jira is specified, in the "Munixo field" the corresponding field in the database object can be entered. A field path can also be specified if it is a linked field.
The mapping is freely selectable, only the Jira field "id" must be mapped to the Munixo field "_JiraId". This is used for unique identification when updating an issue.
It may happen that there is a required field in Munixo whose information is not transferred from Jira. For this case, a default value can be stored for a Munixo field while the Jira field remains empty. Field paths can also be specified for default values. If a field is specified that is linked to the user, the process automatically splits the string so that it searches for the first and last name.

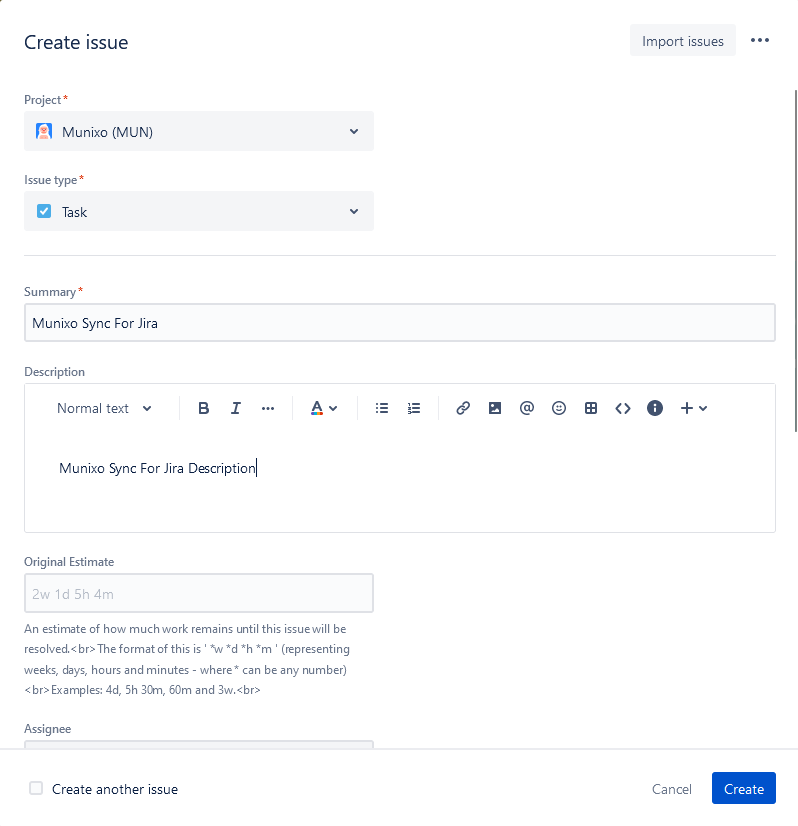
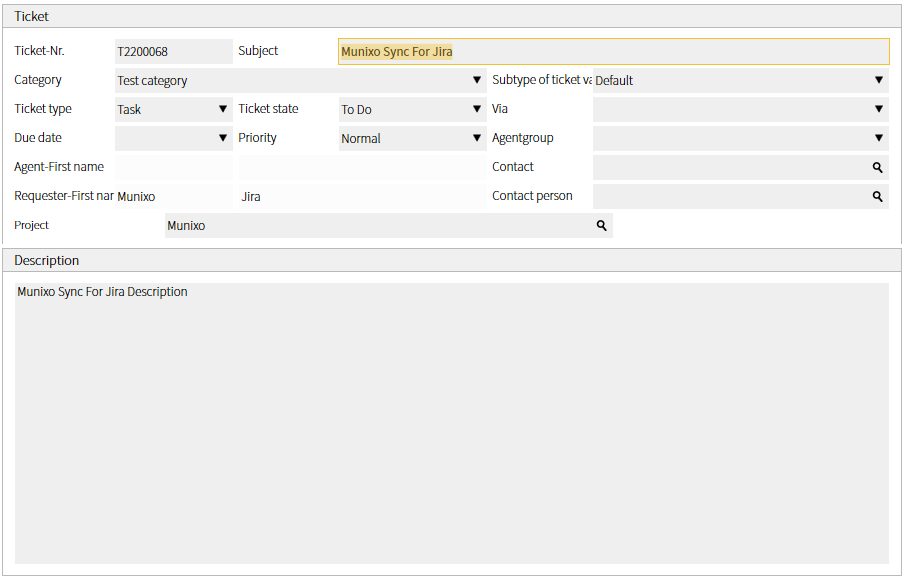
In the following two illustrations, an issue was created in Jira as an example. Subsequently, the associated ticket was created with the transferred information.

